
My Process
The craft of pottery has a very long history and can take many paths. This page describes the most common approach I follow to make my pieces.
Step 1
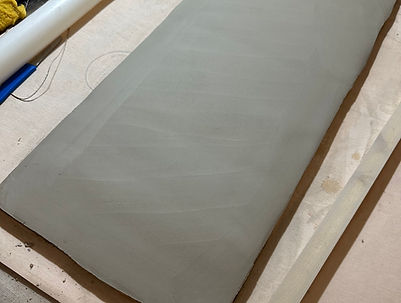
Build
I use one of two approaches to build my pieces: wheel throwing or handbuilding. Wheel throwing involves adding a ball of clay to the wheel, which spins as I shape the piece. Handbuilding can involve either the use of slabs or coils to build the piece entirely by hand without powered equipment.
Step 2
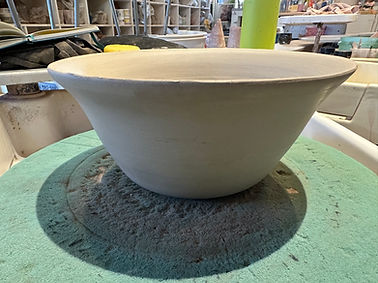
Trimming
Once the piece has dried enough to be safely handled (though still wet), the piece will be trimmed. This is to remove excess clay, refine the shape, and further smooth out the surface.
Step 3
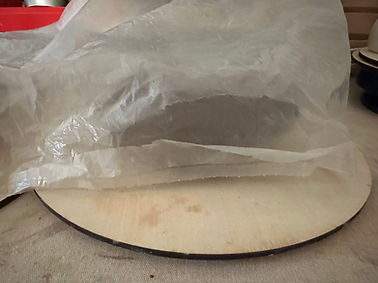
Drying
This one is a bit less exciting, but drying at the right speed (slow!) is so important to prevent cracks from forming in the clay. I will typically cover the pieces with plastic to slowly dry them over 5 - 7 days. Even longer for larger pieces!
Step 4
Bisque Fire
This is an intermediate firing of the pieces to make them safer to handle for glazing. The pieces are placed into a kiln and fired to around 1940 degrees F on a slow-ramp schedule.


Step 5
Glaze Application
Glazes are applied using brushing or dipping, though I typically use brush-on glazes. I may apply one or more glazes, use techniques such as tape resist, or employ other approaches to achieve the desired effect.
Step 6
Glaze Fire
The final firing, where all the color magic happens! The pieces are placed in the kiln and fired to between 2185 and 2232 degrees F, depending on the clay.
Functional pieces will undergo water-tightness testing following the final firing. I will add boiling water to the piece, allow them to sit overnight, and I check them for seepage. Pieces that fail this test are unsuitable for functional use.
